
Model & render
Blender
Geometry, materials, lighting, door animation, and the camera path.
Cycles stills · EEVEE film
The tools and seven-step process behind the Pasadena reconstruction, from source references to the finished walkthrough.
Each tool had a specific role, from shaping the scene to sharing the finished experience.
Model & render
Geometry, materials, lighting, door animation, and the camera path.

AI-assisted production
Blender scripting, iterative corrections, and web implementation under my direction.

Connect & share
Custom-domain DNS connecting the public address to the published site.
Tabs, comparison views, and video chapters.
Publication and hosting for the case study.
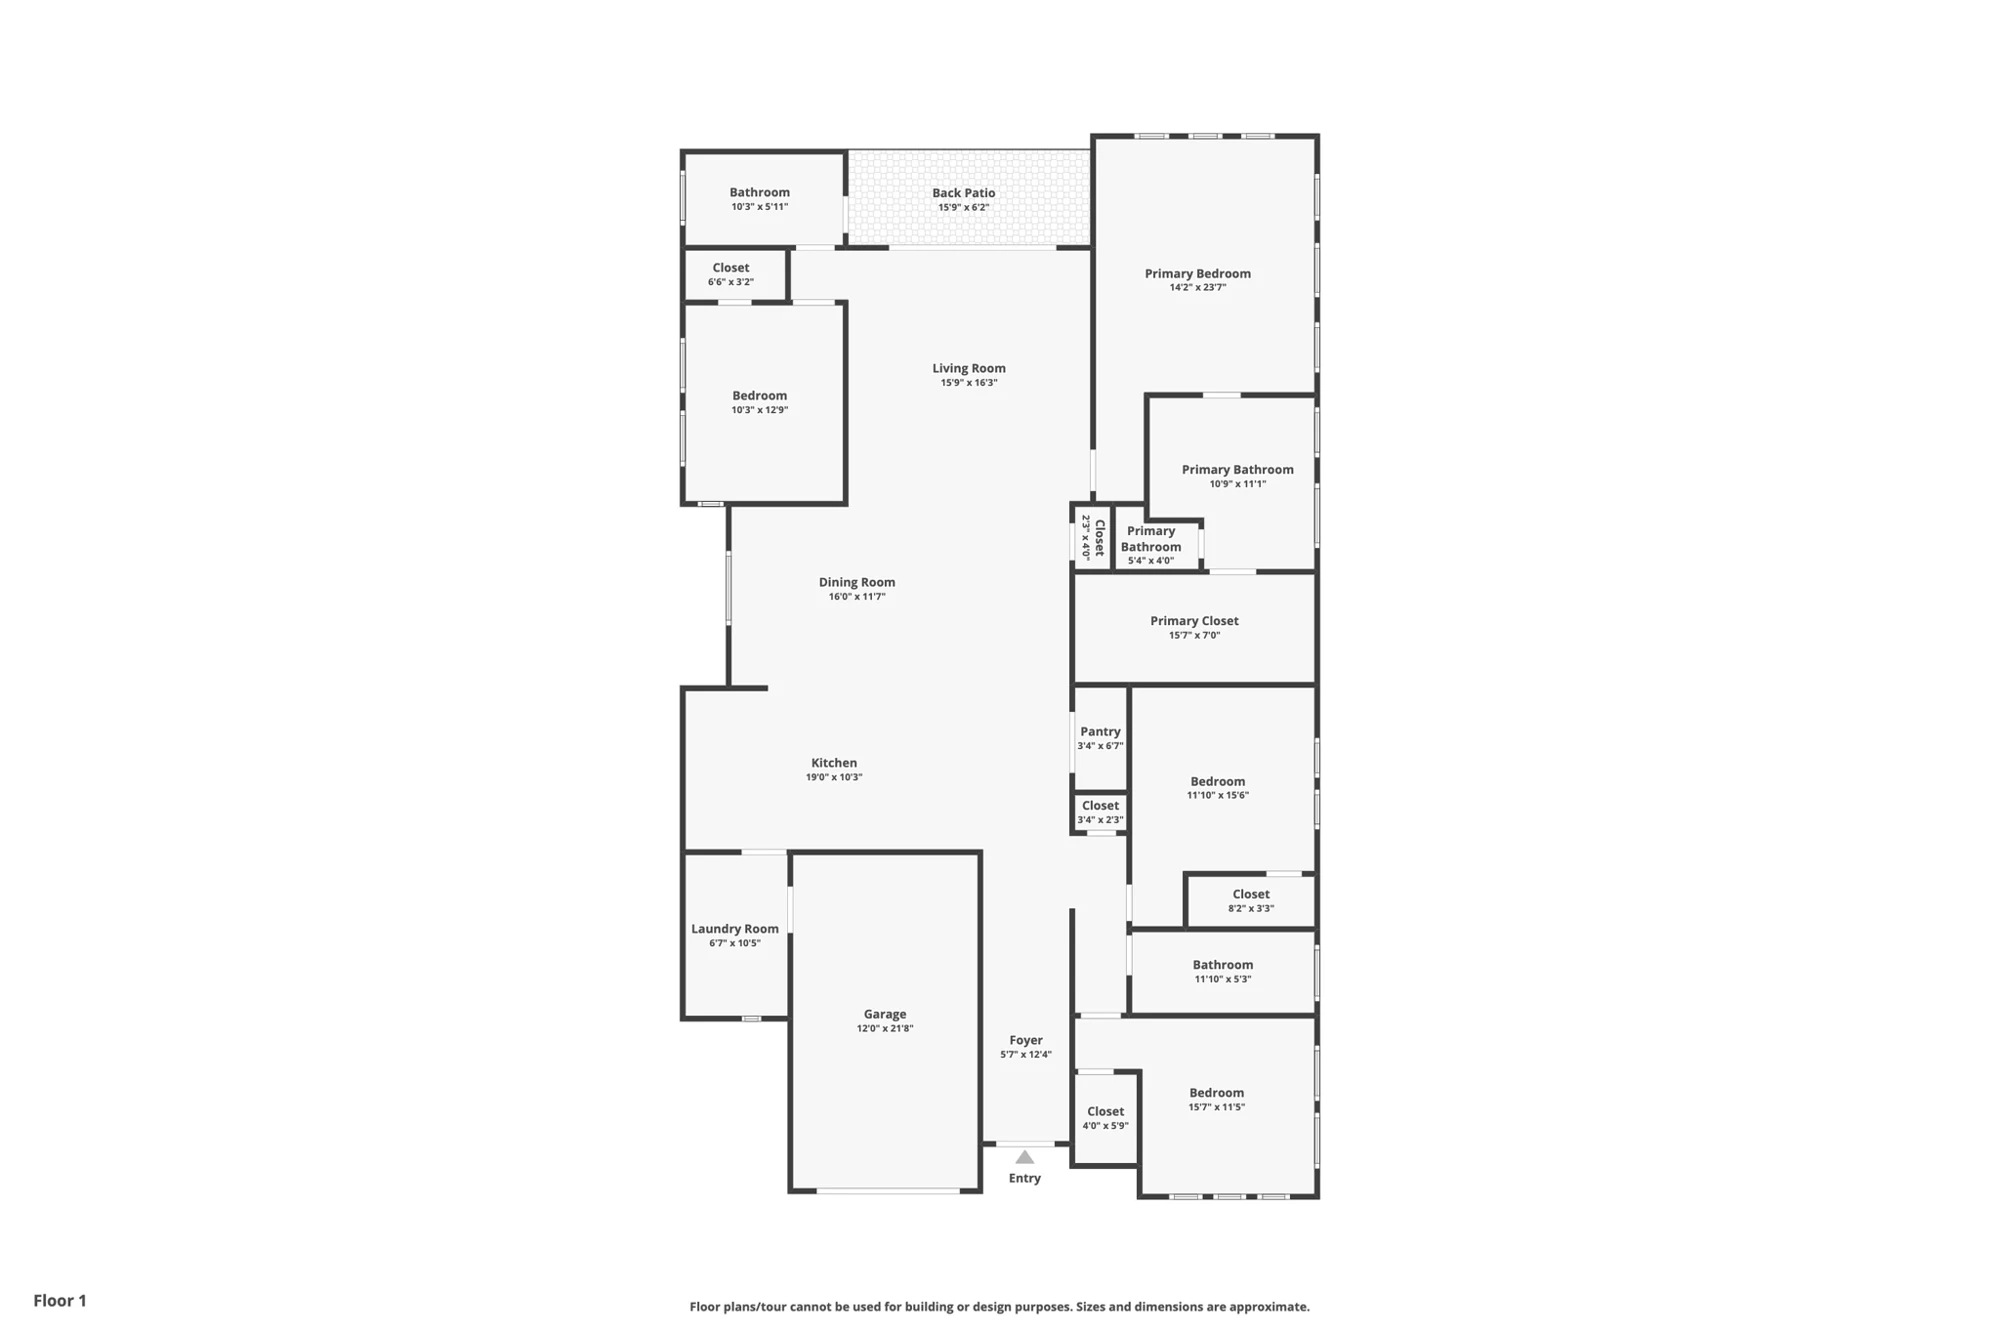
Gather a floor plan and overlapping photos of each room, doorway, and fixed fixture. Label measured dimensions, estimates, and unknowns before building.
Seven stages. A clear output and a review checkpoint at every step. Expand a stage for the details.
Organized reference set
Action Label photos by room and viewpoint. Map visible doors and windows onto the floor plan. Keep an uncertainty list for details the photos do not establish.
Checkeach room and connection has a reference or an explicit assumption.
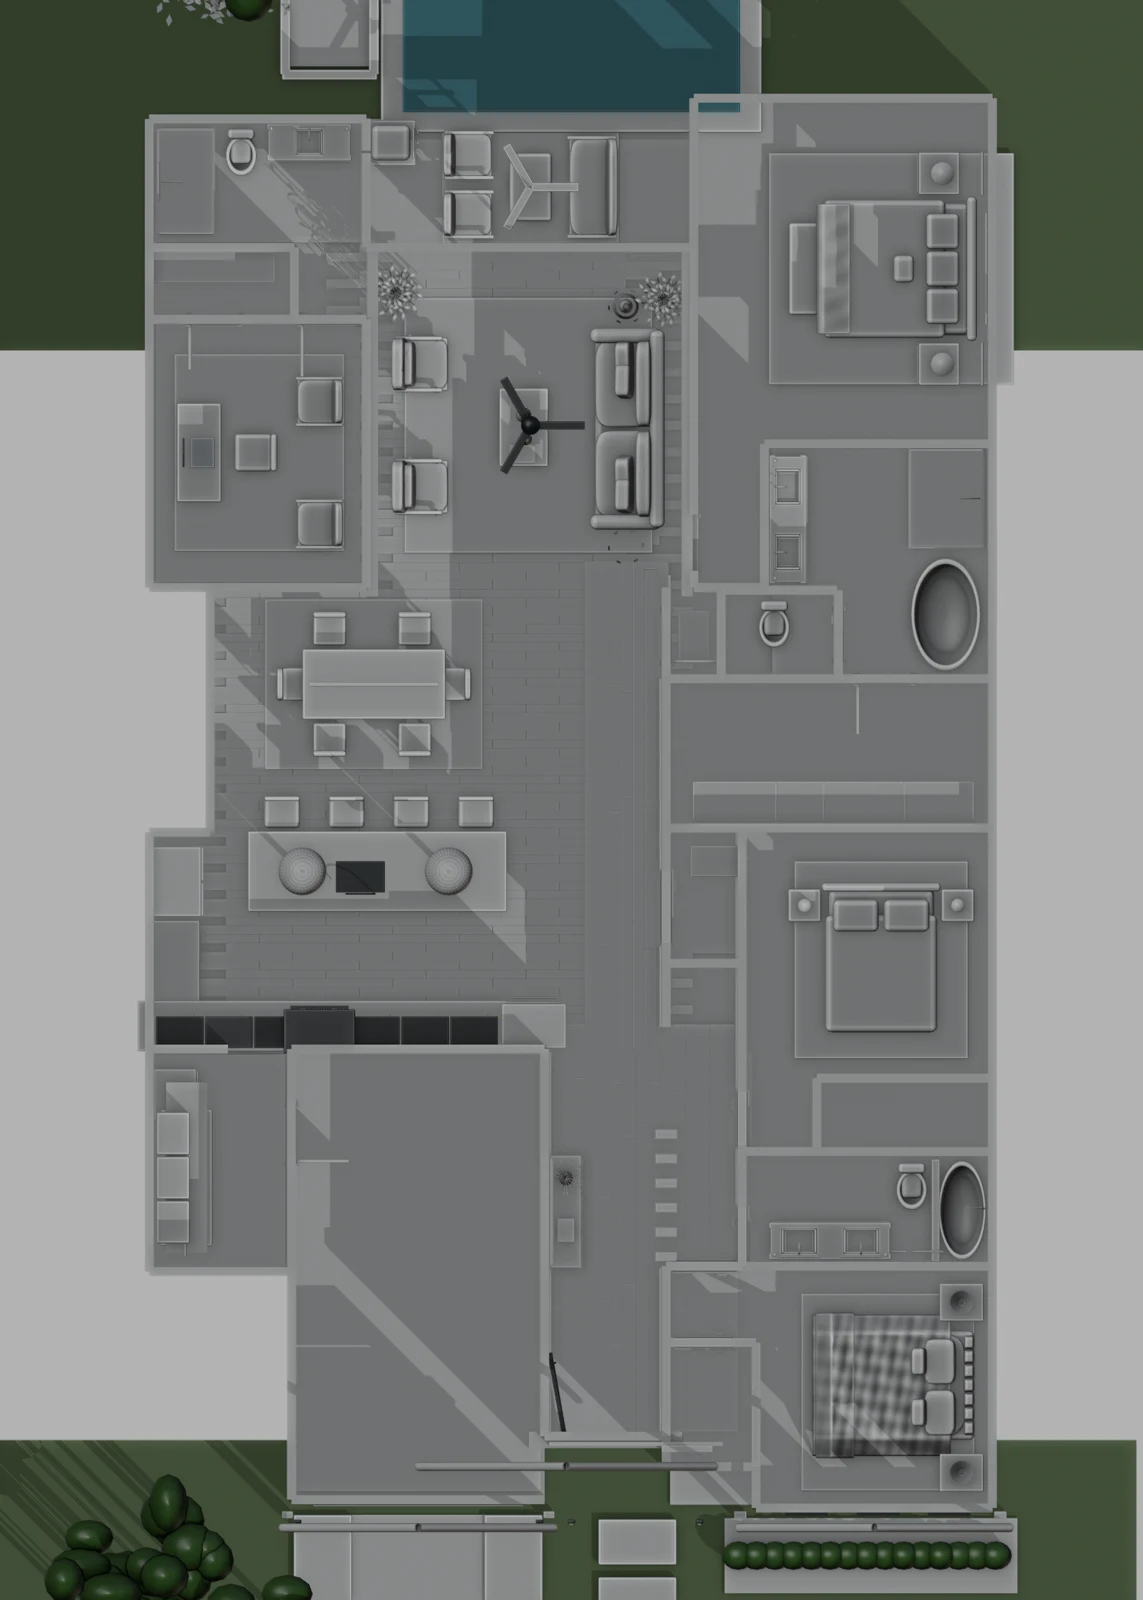
Editable house model
Action In Blender, establish the floor, walls, openings, ceiling heights, and major fixtures before detailed furnishings. Use the plan for room relationships and photos for visible features.
Checkinspect an overhead view and eye-level views for disconnected openings or inconsistent room assignments.
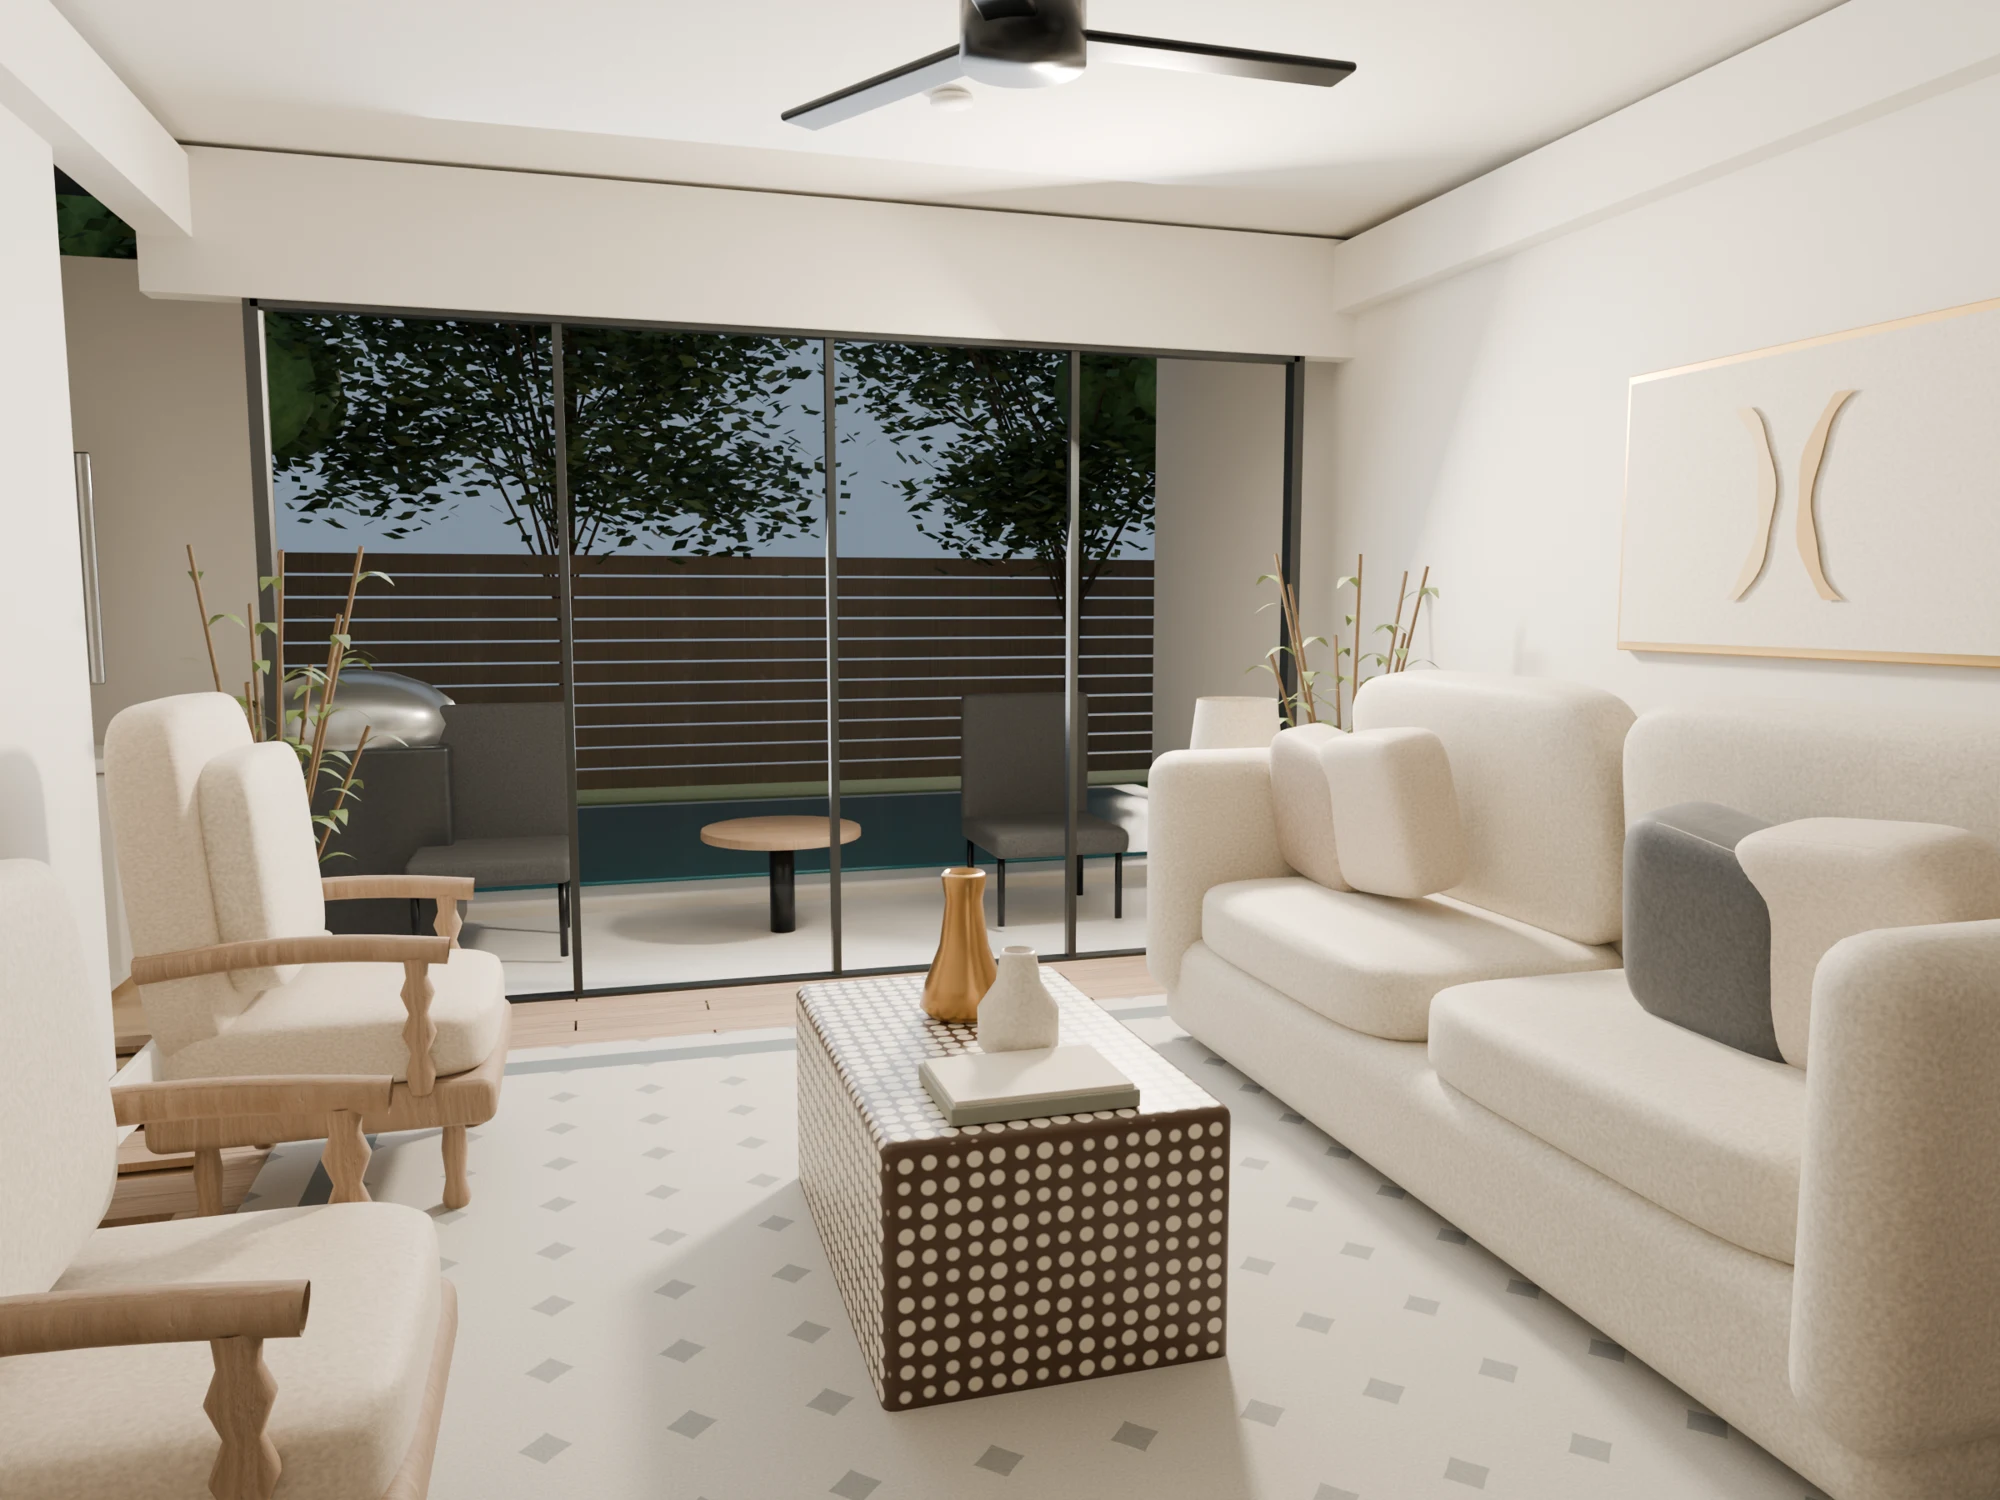
A visual benchmark
Action Choose one room and lock a camera position. Refine daylight, material scale, surface texture, and furniture detail. Render the same view before and after.
Checkcompare proportions and finishes with the source photograph, not just whether the result looks attractive.
Reference-checked geometry
Action Extend the visual treatment, then inspect each room against its references. Check doors, fixtures, windows, and circulation.
Checkresolve visible mismatches before rendering a long film; preserve uncertainty where evidence is missing.
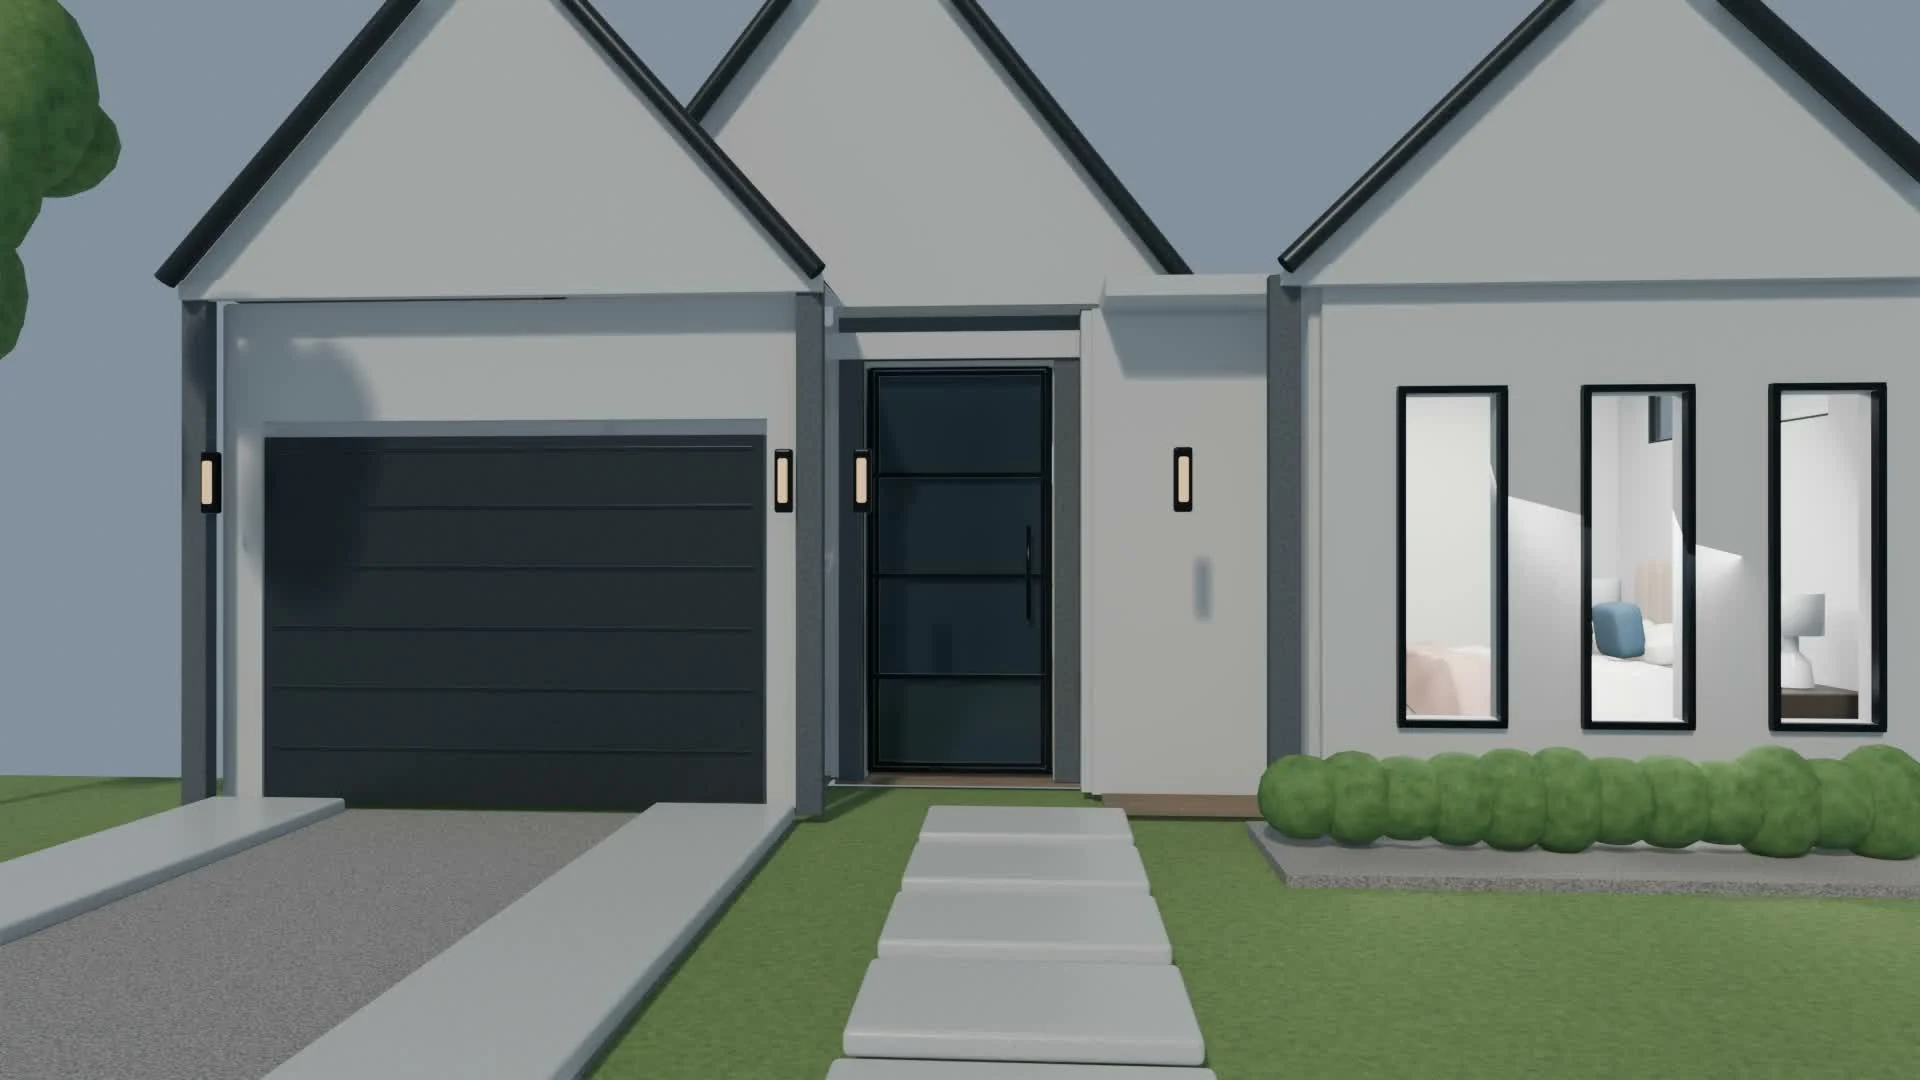
An animated visitor route
Action Start outside, approach the entrance, animate the door, and move through connected spaces at eye level. In Blender, place the door’s origin at its hinge and keyframe its opening to match the camera’s arrival.
Checkpreview at low resolution and review pacing, turns, and clearance through each opening.
The reviewed film
Action Render a short test first, then the full camera sequence. Review the exported video for clipping, sudden motion, inconsistent lighting, and distracting intersections.
Checkinspect the final export itself, not only the Blender viewport. This project’s final film is approximately 38 seconds in Full HD.
A public case study
Action Publish the reference set, matching before-and-after views, and final film. Make your role and the use of AI explicit. Add chapter controls, then test them on the production domain and on a narrow screen.
Checkvisitors can understand your contribution and reach the result without reading the full tutorial.
This guide explains the process and review criteria. The Blender scene, scripts, and full reference archive are not included.
The reconstruction uses photographs and an approximate listing floor plan. Unseen details and some dimensions remain interpretations. The living-room study uses Cycles; the film uses EEVEE, so lighting and reflections differ.
The published film is a 3D render. Generative-video experiments were separate.